Good tool for Publication Houses who print Question Banks. Good for Test Series that have enrollments from far off places.
How the system Works for Institutes ?
1. Get your license activated. Apply Here
2. Download and Install the Integrated Assessment Suite (IAS) Admin Utility. Click here to Download
3. Setup the Test and Answer Key. Read the User Guide or request for technical support
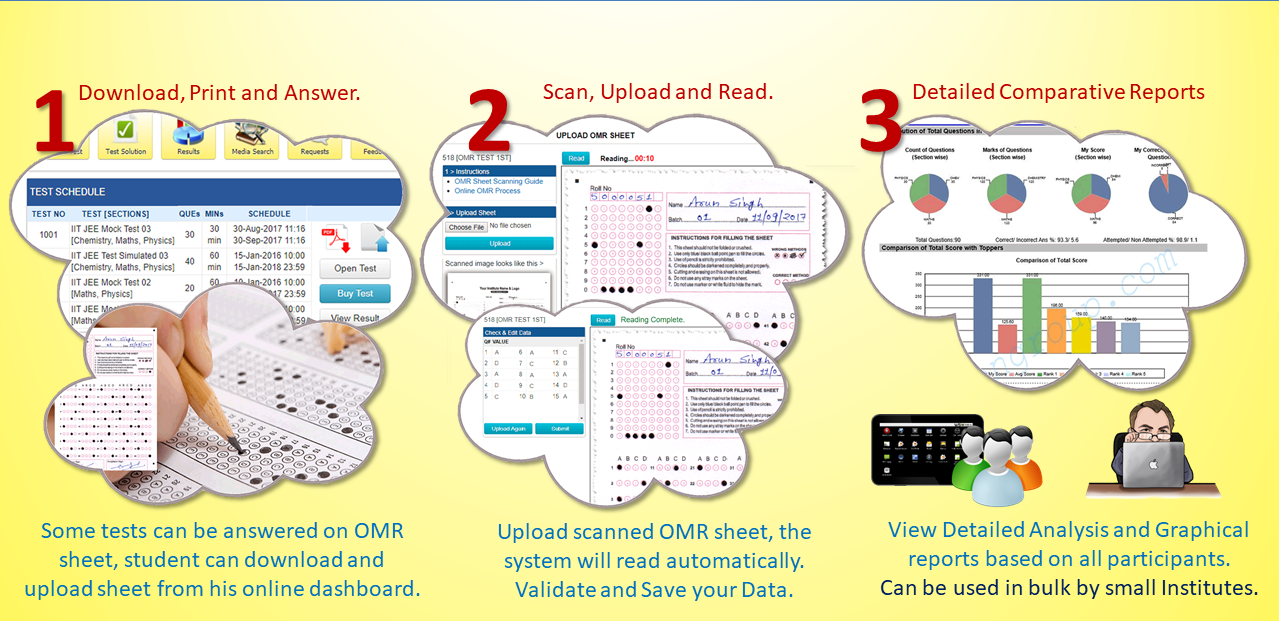
4. Printing and Scanning of OMR Sheet- The Sheet PDF and editable format can be downloaded from the Design Tab of the Read Sheet Interface in your Admin Utility.
- Follow the Printing Guidelines and Scanning Guidelines.
- Institute can add their own logo and header to the OMR sheet, but should get the design approved by Addmen Support Team before printing or distributing.
- Give an orientation to the student on How to print and scan the OMR sheet correctly.
- To make it a very comfortable experience for the student, the institute can volunteer to provide preprinted bunch of sheets to students, which they can use one by one. In case they have consumed/spoiled more sheets than required, they can download and print sheets from the website.
- Sheets provided by the institute will also benchmark the quality and dimensions of print for the students to follow when they print there own sheets.
- The Sheets should be scanned as per the scanning Guidelines.
- All files must be scanned as ".JPG" or ".TIF" files.
- In case of more than one files, the scanned images must be grouped and compressed in the form of ZIP file. DO NOT USE ".RAR" or ".7Z" or any other compression formats. USE ONLY ".ZIP".
- Select the test from the dropdown list.
- If you want to upload multiple files, select the "Single" option and Browse and Upload the ".ZIP" file.
- If you want to upload a single file, select the "Multiple" Option and Browse and Upload the ".JPG" or ".TIF" file.
- In case of Single Sheet, a [Read] button will be displayed on top of screen.
- In case of Multiple sheets, [Previous], [Next] and [Read] buttons are visible on the top of screen. [Previous], [Next] buttons will only be used to scroll between Unread sheets.
- Press the [Read] button to read the sheet and show data for validation. Submit after validation or correction.
- Once a sheet is read, it is removed from the list and cannot be seen again.
6. Data Validation and Manual Punching
7. View Results. Goto Results Admin Interface to see all Results.